Please note***This post contains affiliate links. If you make a purchase via one of these links I may receive a small commission from your purchase. This commission does not add any cost to you but helps me to continue to share new products and ideas with you. Thank y'all for always being so supportive!!
Looking for a fun and creative way to decorate your home for Spring? Look no further! This fun and easy project will have you hopping with excitement as you craft your very own adorable bunny-shaped board. Follow these simple steps to bring a bit of bunny magic into your space.
Supplies:
- 1" x 16" x 3 ft Pine Wood
- Bunny Template (Subscribers can download the template here. If you'd like to subscribe to my newsletter for access you click here.)
- Orbital Sander
- 120 grit Orbital Sand Paper
- Fusion Mineral Paint Stain And Finishing Oil (Color: Cappuccino)
- Lint Free Cloth
- Protective Eye Gear
- Latex gloves

Step 1: Download & Cut Out Bunny Template
First things first, you'll need to find a bunny template. Subscribers can download my template here. If you'd like to get access to my entire printable collection, you can subscribe here. Once you've found the perfect shape, go ahead and print it out. Carefully cut out the bunny shape, making sure to get those curves just right.
Step 2: Trace Template onto Wood
Next, grab a piece of wood that's ready to be transformed into a bunny board. Place your bunny template on the wood and trace around it with a pencil. Make sure to press down firmly to get a clear outline.
Step 3: Cut Bunny Shape Out with Jig Saw
Now comes the fun part - cutting out your bunny shape! Grab protective gear and a jig saw (or any other cutting tool you have on hand) and carefully cut along the traced lines. Take your time and watch those bunny ears come to life!
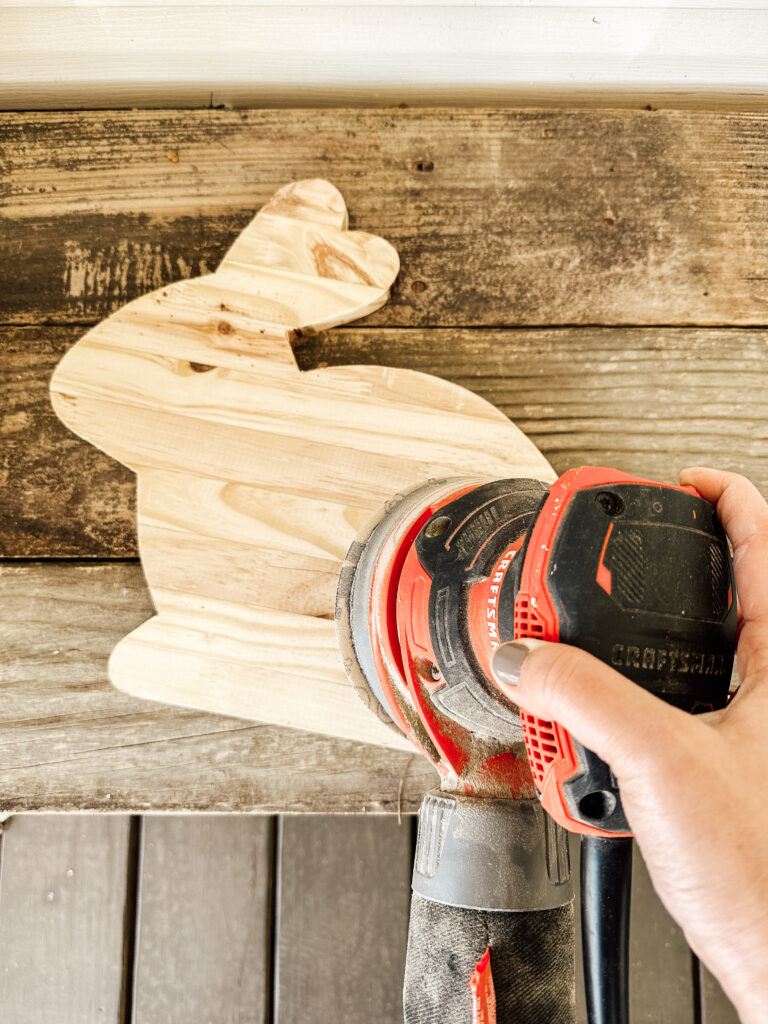
Step 4: Sand Bunny Board
Once your bunny shape is cut out, it's time to smooth things over. Grab an orbital sander with 120 grit sandpaper and gently sand the edges and surface of your bunny board. This will give it a nice, polished finish and ensure no splinters hop up unexpectedly.

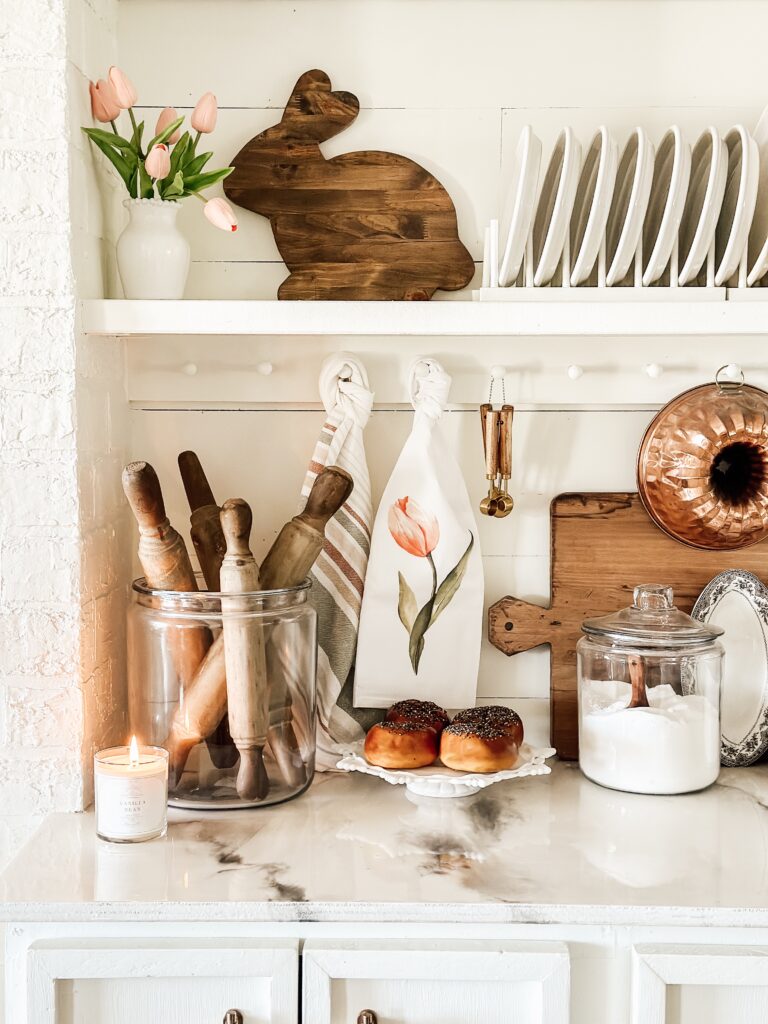
Step 5: Stain or Seal Bunny Board
Finally, it's time to add the finishing touch to your bunny board. You can choose to stain it for a rustic look or seal it to keep it looking fresh and new. I chose to use Fusion Mineral Paint Stain and Finishing Oil in the color Cappuccino for a dark brown contrasting color. This finishing oil goes on super quick and dried within a few hours. Beeswax and Hemp Oil are also other finish options that will enhance the natural pine color and are nontoxic. Whichever option you choose, make sure to let it dry completely before displaying your bunny masterpiece.

If you’d like to see a full length video tutorial of the process on Facebook, you can check it out here or you can watch a quick Instagram Reel here. Happy Bunny Board Making Y'all!
If you love this piece but don't have the option to DIY it, you can BUY it! My friend Jennifer from Birchlane by Jennifer is selling her handmade version of this centerpiece. You can head to her website and purchase one of her beautiful creations here.


